menu

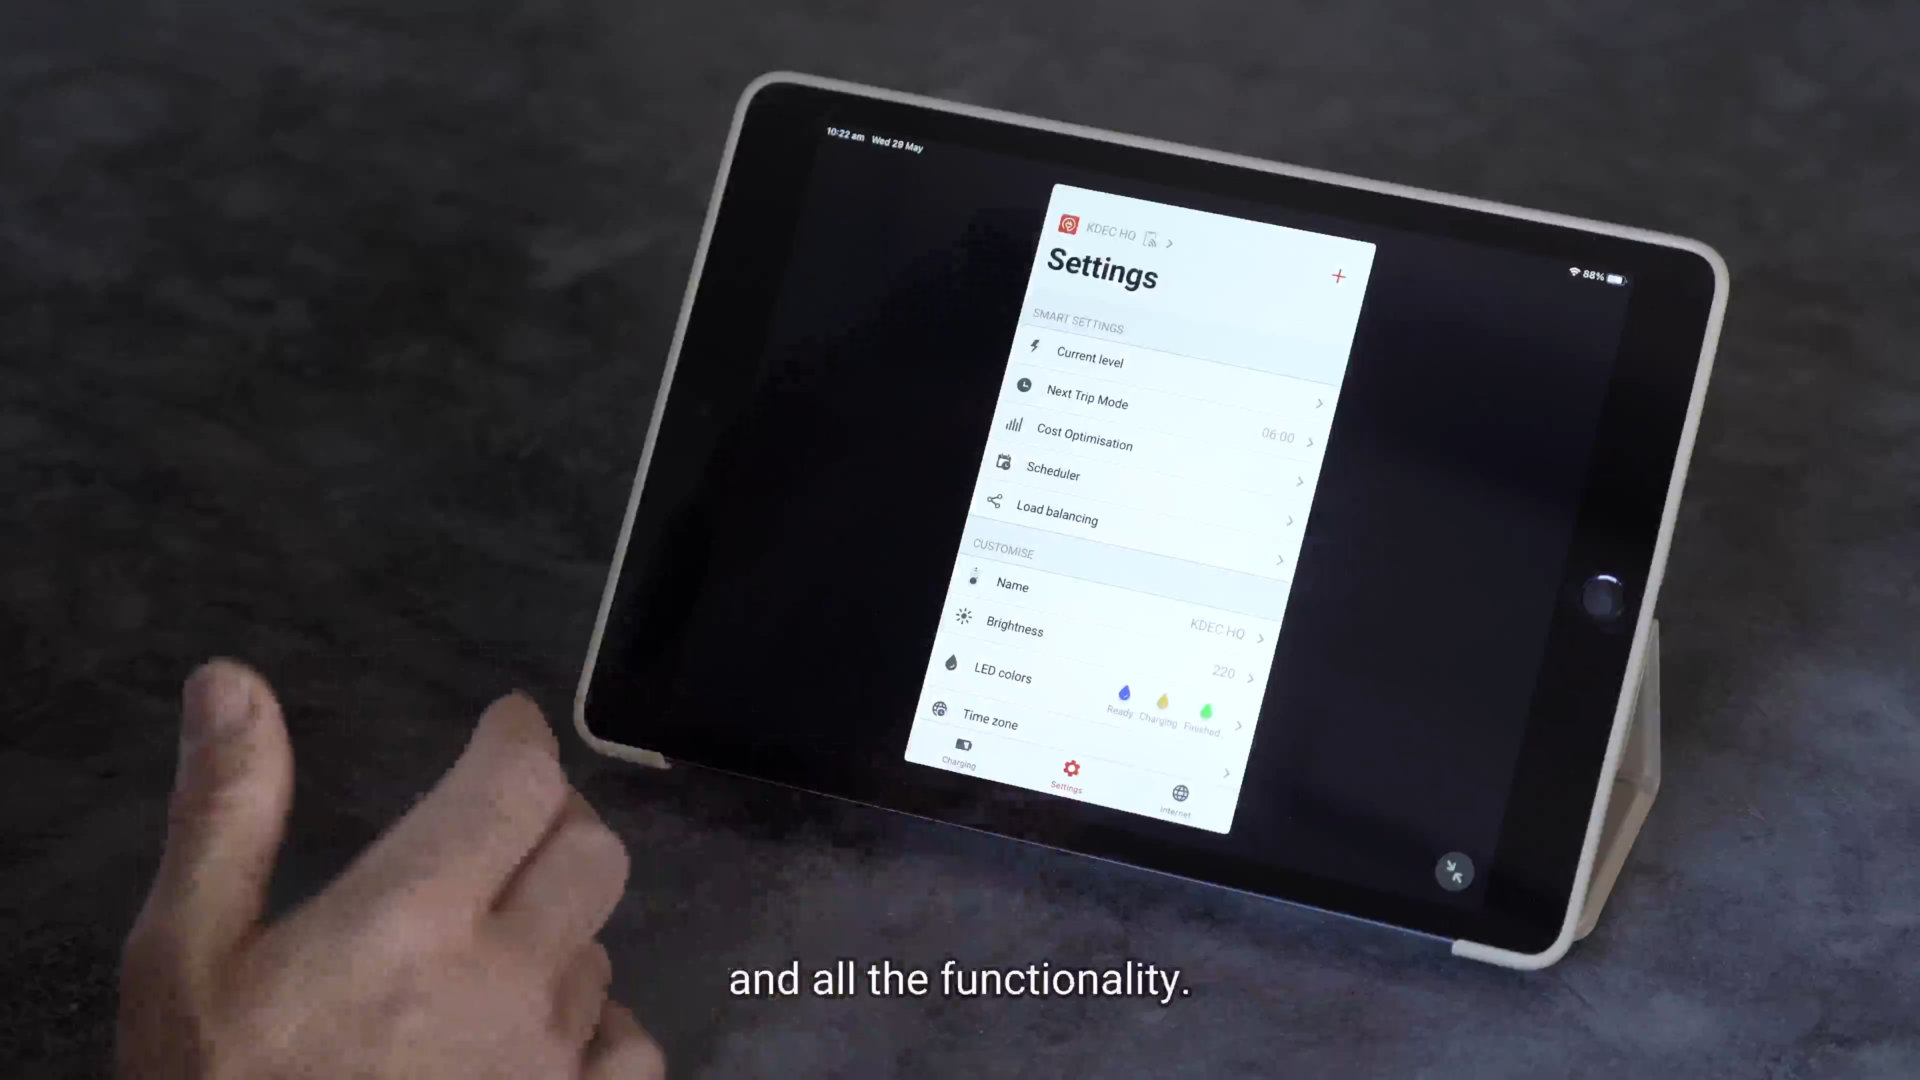
How to operate the Fronius Wattpilot System

  • 00:02
    Hi, this is Andrew from KDEC, and today, we're going to run you through the Fronius Wattpilot, the car charger.
  • 00:09
    Initially, I'll run you through what we can do at the unit, and then we'll move inside and look at the app and the customisation and the settings that we can activate from inside.
  • 00:21
    Firstly, there's an RFID reader and a push button. The push button enables us to do a couple of things.
  • 00:29
    It can change between the charge settings, so we have Eco Mode and Next Trip.
  • 00:37
    We'll talk about that inside. But Eco Mode, for instance, is just using excess solar, which it's set to at the moment. Just a short press will move between those.
  • 00:49
    The other thing we can do with the push button is control the charge current, the level of current that goes to the vehicle.
  • 00:57
    If we hold it down for more than two seconds, we'll see the available charge.
  • 01:06
    Each one of these blue LED lights represents one amp. So if we hold it for longer, we'll gradually see it increase all the way up to full 32 amp charge.
  • 01:24
    And then if we hold it again, it goes back to 10. The next part is obviously the RFID chip reader.
  • 01:33
    You'll get a chip with your Wattpilot. Up to 10 can be activated
  • 01:40
    To activate a new chip, we hold it up against the RFID reader and go into the app. I'll show you how to assign another one inside.
  • 01:53
    Also the RFID chip, if it's set to authentication required, will start the charging. Hold it up there and we're charging. That's all we have to show you out here.
  • 02:11
    Next, we'll move into the app. Here we are. We'll look through our Solar Wattpilot app, and we'll run through the customisations and all the functionality.
  • 02:26
    First of all, at the top is current level. It can be set to between 10 amps and 32 amps of charge.
  • 02:35
    And it's good to keep in mind that 32 amps obviously will charge the car faster, but the lower the amperage, the better it is for the life of your battery.
  • 02:50
    The Next Trip Mode. This is a very useful feature which will enable us to ensure there's a designated level of charge in your car.
  • 03:01
    So, for instance, it's Sunday night, you know you need to drive to work on Monday, we can set a minimum charge, in this case 100 kilometres, to be ready by 6:00 a.m.
  • 03:15
    It will draw from excess solar initially. So rather than power being fed to the grid, it'll be diverted to the car to charge.
  • 03:30
    If it's a bad day, for instance, and we don't get enough charge during the day to reach that 100 kilometre minimum charge that we are after, it'll then draw from the grid to ensure that it's charged by, in this case 6:00 a.m., so yeah, 6:00 a.m.
  • 03:50
    It's good to keep in mind this Eco Mode after Next Trip Mode.
  • 03:55
    Eco Mode is effectively where the cartridge, well, the Wattpilot is diverting that excess solar. Rather than being fed to the grid, it goes to the car.
  • 04:08
    So Eco Mode, under Eco Mode, there is a very small cost to charging the vehicle.
  • 04:15
    The Next Trip Mode will make use of that Eco Mode primarily as I was saying. But then if this is checked, once we reach that 100 kilometre minimum charge that we've set, it will then just charge under Eco Mode.
  • 04:31
    So rather than sending power back, excess power to the grid, it'll send it to the car.
  • 04:37
    The consumption per 100 kilometres, by default, it's set to 18 kilowatt hours. But depending on your vehicle, you can check the manual and adjust that as needed.
  • 04:53
    Cost optimization is a feature that's not available in Australia. It is for European countries that have, yeah, basically where the grid will talk to the unit to let it know what the current power price is.
  • 05:12
    Anyway, we'll move on to Scheduler. Scheduler, there's two options. We can allow charging or block charging, and we just set a start and end time.
  • 05:25
    The allow charging is very good if you have electricity or an EV electricity plan that has very cheap power overnight or for certain blocks.
  • 05:36
    We can set the vehicle to charge during those times. Likewise, block charging is when we don't want to charge the vehicle.
  • 05:44
    So, for instance, if we set the car to be charged ready by 6:00 a.m. and we knew that we didn't want to charge it during peak period, so we only want to be charging after 11:00, we can block out that window of the peak rates to avoid that.
  • 06:09
    Load Balancing. Load Balancing is really only useful when we have a small supply to your house.
  • 06:16
    So rather than your usual 63 amp feed, you may have reduced overhead lines or whatever. You'll be aware if it applies to you, or alternatively, if we have multiple Wattpilots.
  • 06:32
    It just enables the Wattpilot to look at the house consumption and also look at what the overall capacity of the home is and make sure the Wattpilot doesn't exceed that to trip any circuits.
  • 06:51
    We'll now look at security, the security features. The Access Control we can either set to open. If it's set to open, the car will begin charging as soon as we plug in our cable.
  • 07:04
    Under Authentication Required, you can plug the car in, it won't begin charging however until we either initialise it with the app or with our RFID chip at the Wattpilot.
  • 07:19
    Cable Unlock. If it's set to standard, the cable is locked in the Wattpilot until it's released from the car.
  • 07:31
    Under Auto-Unlock, the cable is only locked during charging. Once the car is charged, the cable can be disconnected, which is useful if you have, for instance, two EVs, someone else can.
  • 07:47
    When the car is charged, someone else can pull the cable out and begin using it in another vehicle.
  • 07:53
    Always Locked. This is a very useful feature if your car charger is in a fixed position.
  • 08:01
    In somewhere accessible to the public, for instance, you know, like a carport, Always Locked means the cable cannot be pulled out of the Wattpilot and is locked in there at all times unless or until such time as you change the settings.
  • 08:17
    Auto-Unlock during power outage. By default, it's set to be locked during a power outage just so to avoid theft.
  • 08:28
    No one can turn your power off to your house and run away with your cable, but it may be a feature that you would like to disconnect or enable.
  • 08:39
    User Preference. ID Chips. You can set up to 10 RFID chips.
  • 08:47
    To set a new one, you hold the chip up to the reader on the Wattpilot and learn ID chip.
  • 08:56
    This is obviously useful for monitoring charge per user and also just allowing multiple users to be able to activate the unit.
  • 09:10
    The only other feature we'll talk about today is the internet. Obviously, if we change password or modem, you'll need to reset your communications to the Wattpilot.
  • 09:26
    The Wattpilot Eco Mode won't be available unless it's online.
  • 09:31
    So it's very simple. Internet down the bottom of the screen. Here we are. Just click on WLAN, find the new unit, the new modem, and enter the new password or the new settings. Very, very easy. That's all there is.
  • 09:53
    There is some other features that you'll be able to see through your manual, but these are predominantly what you're going to be using.

Aliquam morbi in mauris lacinia eu. Volutpat quisque sodales aliquam faucibus. Nunc et velit elementum eget felis. Faucibus dolor metus enim adipiscing consequat. Id quis libero ultricies in. Velit gravida suspendisse cras molestie vel morbi odio. Rhoncus lobortis at diam arcu et eu. Montes rhoncus urna lectus imperdiet. Pulvinar adipiscing facilisis sagittis risus urna faucibus. Integer neque risus orci scelerisque metus in rutrum platea scelerisque. Tincidunt imperdiet velit nunc ut mauris velit viverra quam leo. Tortor porttitor scelerisque erat pellentesque neque dolor. Risus eget odio pretium elit. Convallis parturient nullam urna sem rutrum gravida.

A non sed leo ac tellus in sed. A volutpat eget amet enim suspendisse. Sed curabitur in sit sed ac massa pulvinar. Non non metus morbi vulputate lacus cursus ut. Purus egestas tellus sit in. Posuere neque fusce laoreet enim amet vel iaculis. Cursus mus a diam eleifend ornare suspendisse quam. Sit montes suspendisse vel tincidunt in sit ut facilisis.

At convallis faucibus cursus ullamcorper

1

Aliquam morbi in mauris lacinia eu. Volutpat quisque sodales aliquam faucibus.
Nunc et velit elementum eget felis. Faucibus dolor metus enim adipiscing consequat. Id quis libero ultricies in. Velit gravida suspendisse cras molestie vel morbi odio. Rhoncus lobortis at diam arcu et eu. Montes rhoncus urna lectus imperdiet.

2

Aliquam morbi in mauris lacinia eu. Volutpat quisque sodales aliquam faucibus.
Nunc et velit elementum eget felis. Faucibus dolor metus enim adipiscing consequat. Id quis libero ultricies in. Velit gravida suspendisse cras molestie vel morbi odio. Rhoncus lobortis at diam arcu et eu. Montes rhoncus urna lectus imperdiet.

3

Aliquam morbi in mauris lacinia eu. Volutpat quisque sodales aliquam faucibus.
Nunc et velit elementum eget felis. Faucibus dolor metus enim adipiscing consequat. Id quis libero ultricies in. Velit gravida suspendisse cras molestie vel morbi odio. Rhoncus lobortis at diam arcu et eu. Montes rhoncus urna lectus imperdiet.

4

Aliquam morbi in mauris lacinia eu. Volutpat quisque sodales aliquam faucibus.
Nunc et velit elementum eget felis. Faucibus dolor metus enim adipiscing consequat. Id quis libero ultricies in. Velit gravida suspendisse cras molestie vel morbi odio. Rhoncus lobortis at diam arcu et eu. Montes rhoncus urna lectus imperdiet.

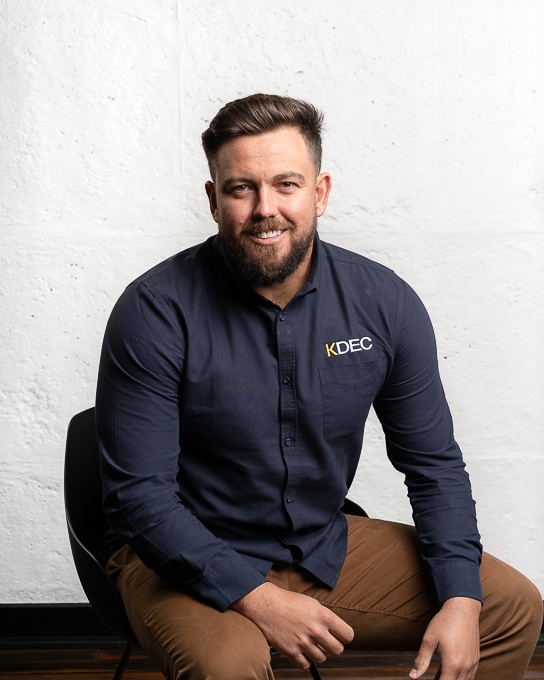
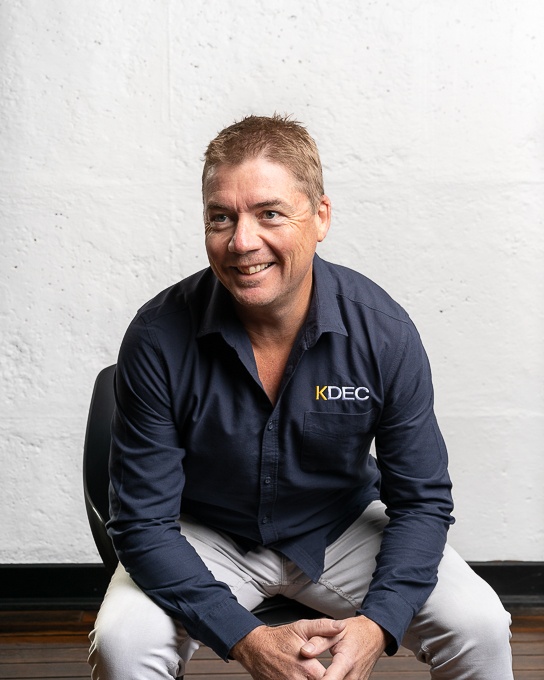
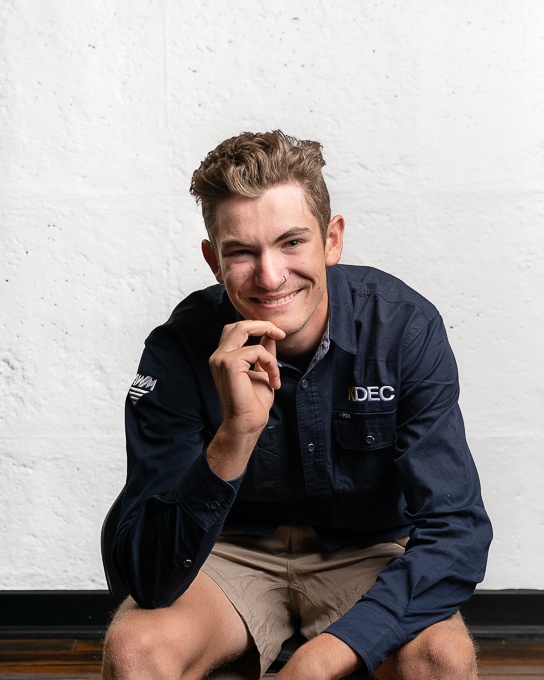
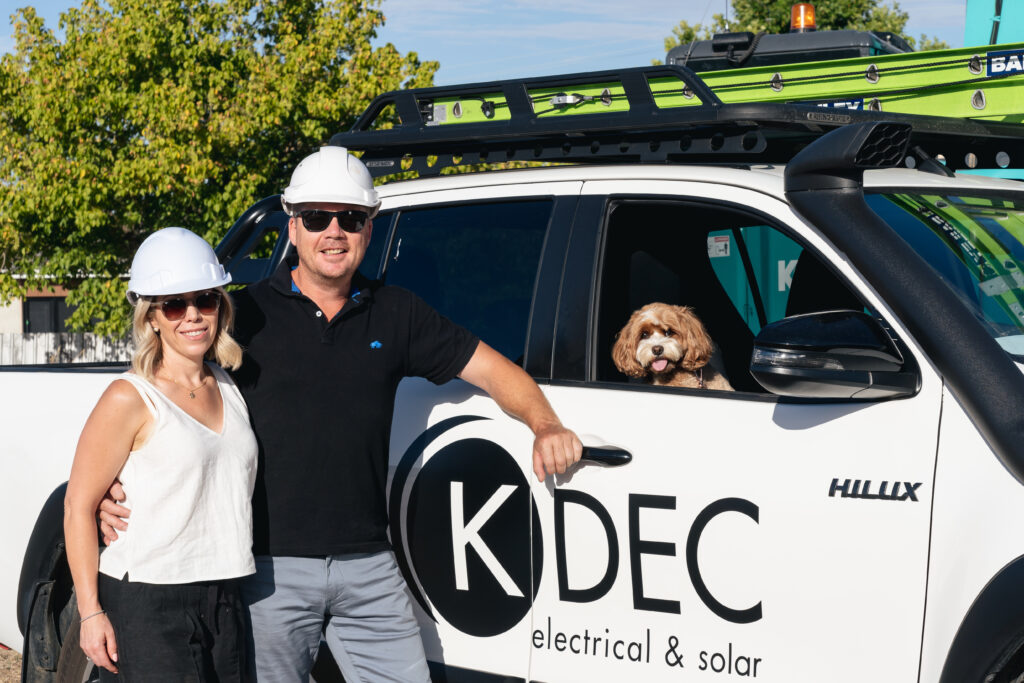
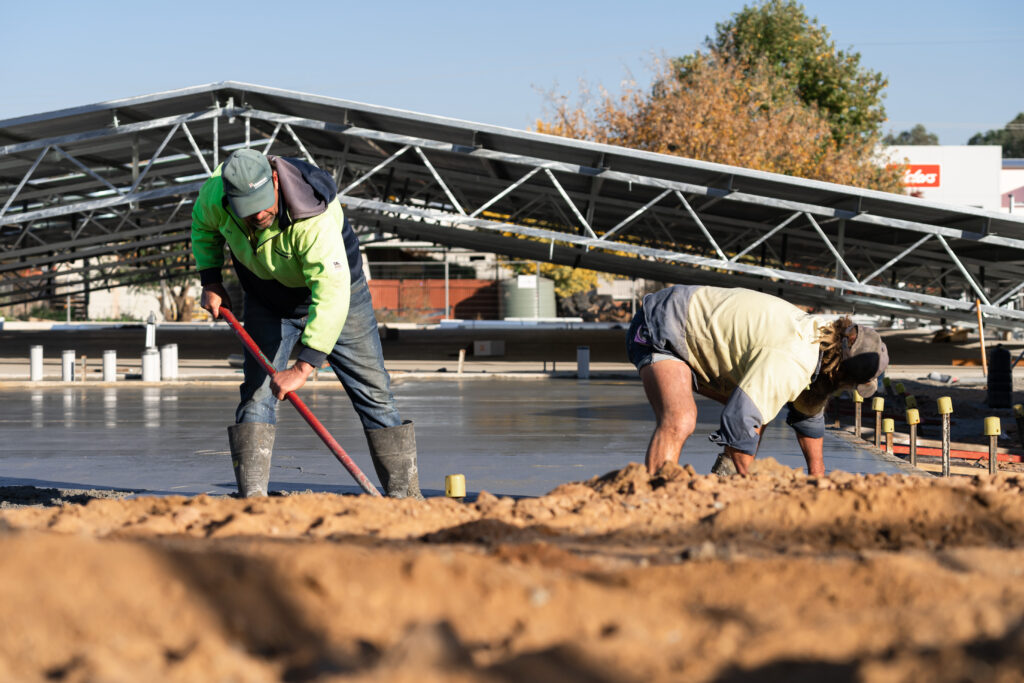
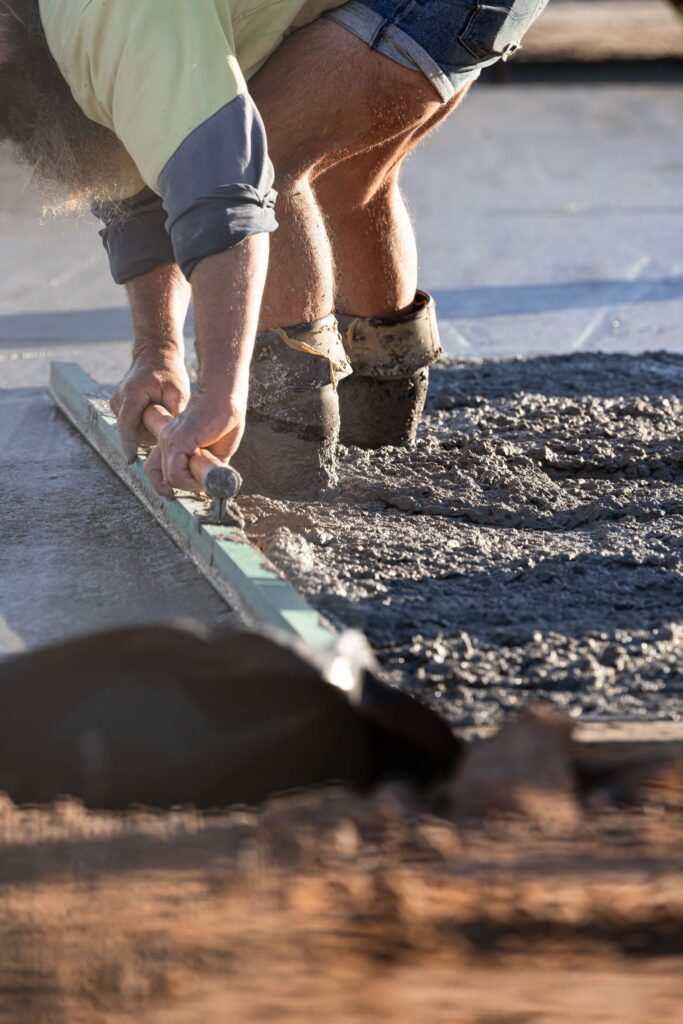
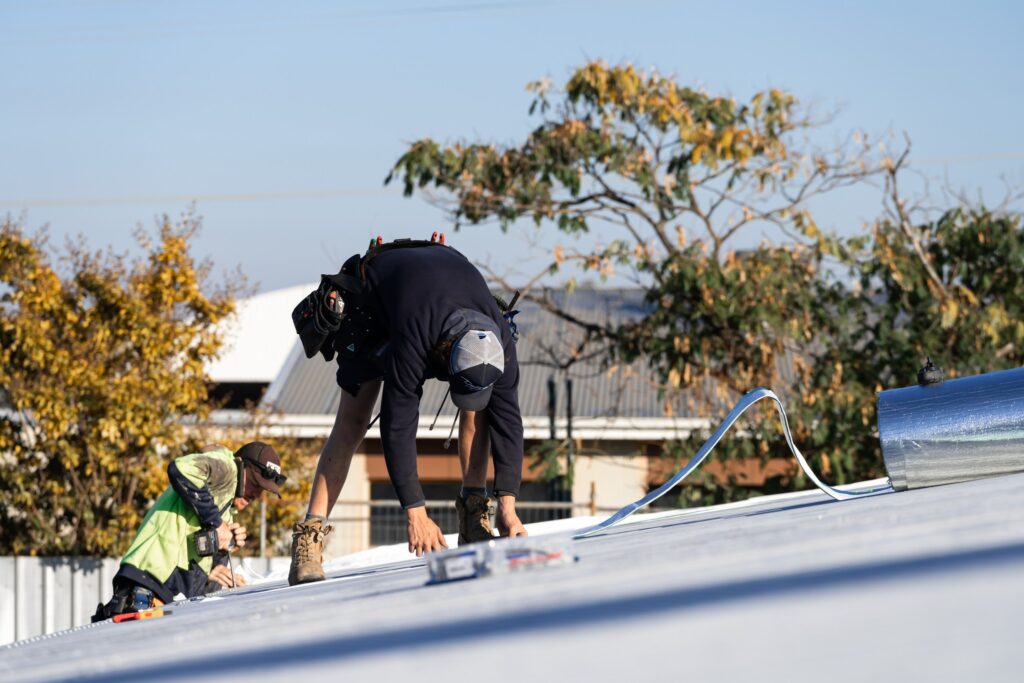
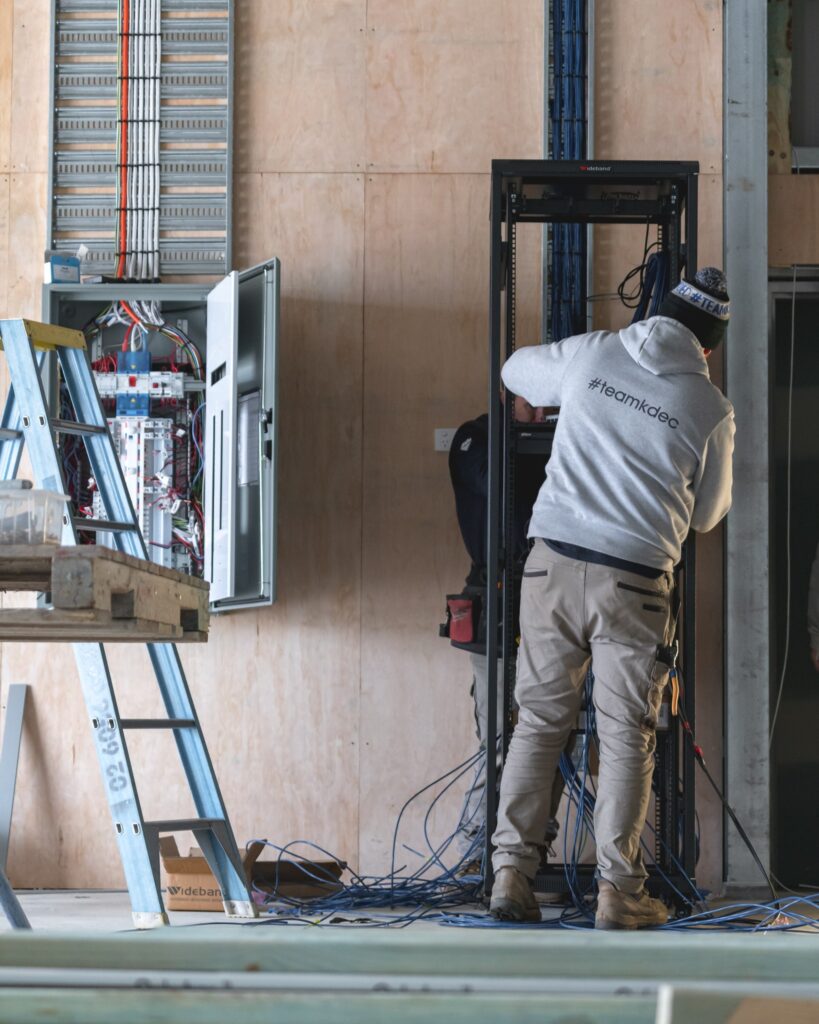
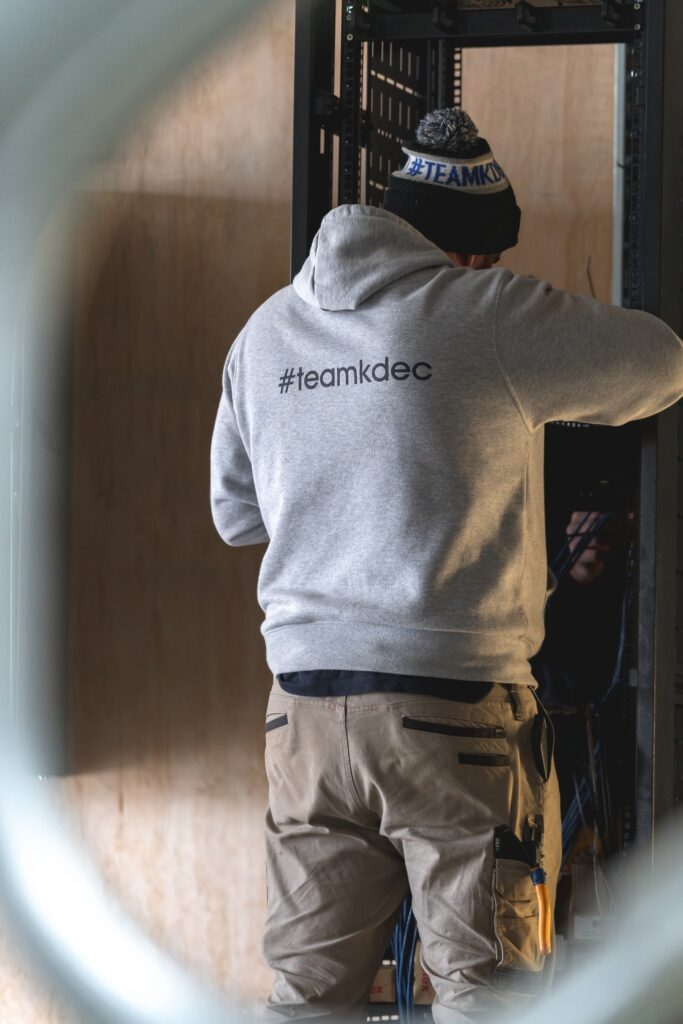
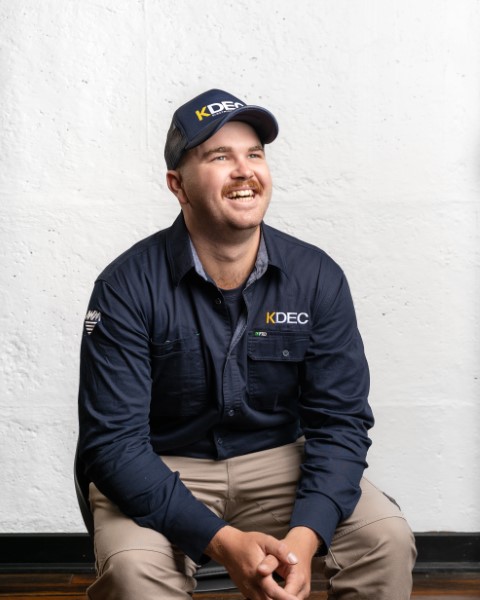
Committed to delivering clean energy solutions

As Albury Wodonga's leading solar experts, Kdec’s promise of quality service is guaranteed with our roster of trained and licensed Electricians. Whether you’re a commercial business, a new homeowner or looking to upgrade your family home, our 25 years of experience means you’re in safe hands.

Talk to a KDEC team member

Our Office

30 Ruby Court, Albury 2640

Contact Us

  • 02 6021 6033
  • kdec@kdec.com.au
facebook instagram

Quick Links

  • About KDEC
  • KDEC Team
  • Clients & Suppliers
  • Blog
  • KTECH
  • Contact Us
  • FAQ

Our Solutions

  • Solar Solutions
  • Solar Consultancy
  • Electrical Solutions
  • Fibre and Data Solutions
  • EV Chargers

Our Works

  • Industrial
  • Commercial
  • Domestic
  • Fibre and Data
  • Case Studies

Licence Number: NSW 363462C | Vic 29085
© Copyright 2021 by KDEC Electrical. All rights reserved.
Website by Digital Marketer Bee.

KDEC Electrical & Solar
4.9
Based on 106 reviews
powered by Google
js_loader